Toro LX420 User Manual
Browse online or download User Manual for Gardening equipment Toro LX420. Toro LX420 User Manual
- Page / 36
- Table of contents
- TROUBLESHOOTING
- BOOKMARKS
Rated. / 5. Based on customer reviews
Form No. 3354-969
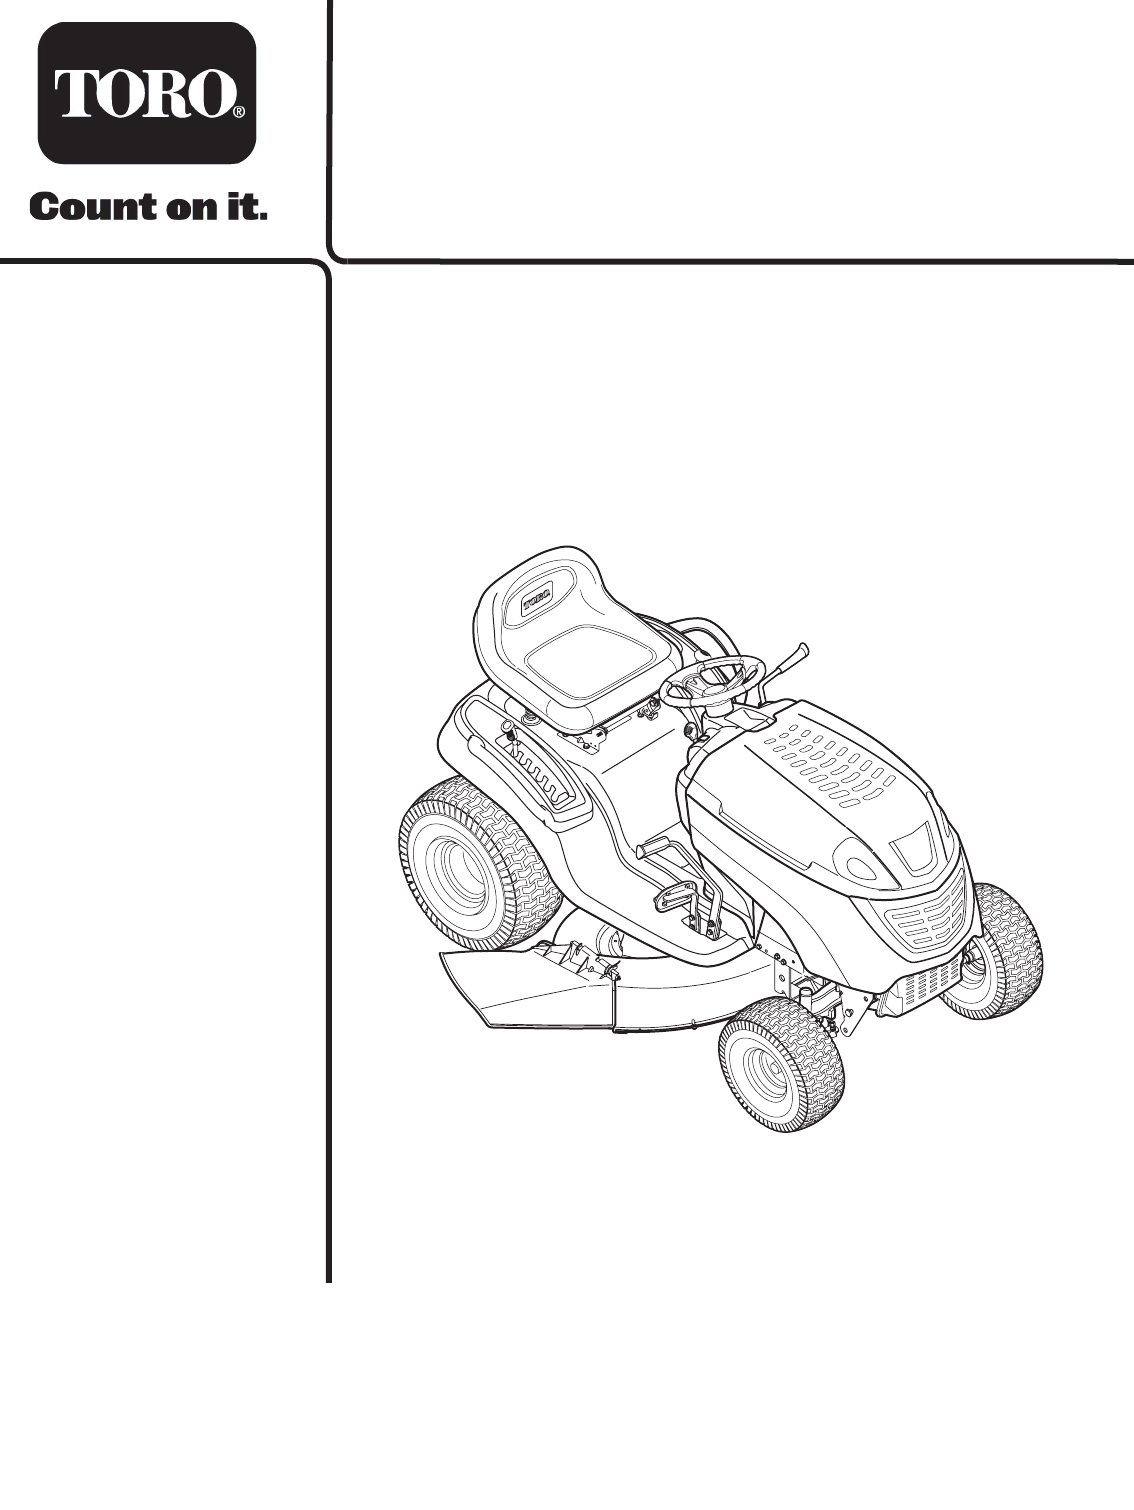
LX420 & LX460 Lawn Tractors
Model No. 13AX60RG744
Model No. 13AX60RH744
Register your product at www.Toro.com
Original Instructions (EN)
769-02247F (01/11/06)
Operator’s Manual
- Operator’s Manual 1
- TABLE OF CONTENTS 2
- FINDING MODEL NUMBER 2
- CUSTOMER SUPPORT 2
- SLOPE OPERATION 4
- DO NOT: 4
- CHILDREN 5
- SECTION 2: SAFETY LABELS 7
- ORACORNEROFABUILDING 9
- ORAFENCEPOST 9
- SECTION 5: TRACTOR SET-UP 10
- Tire Pressure 11
- Attaching The Seat 11
- Shipping Brace Removal 11
- Setting the Gauge Wheels 12
- NOTE: The brake pedal must 14
- PTO / BLADE ENGAGE 15
- Reverse Caution Mode 16
- Safety Interlock System 16
- Starting the Engine 17
- Stopping the Engine 17
- Using the Deck Lift Lever 17
- Driving The Tractor 17
- Driving On Slopes 17
- Setting The Cruise Control 18
- Engaging the Parking Brake 18
- Engaging the Blades 18
- Seat Adjustment 19
- Leveling the Deck 19
- Parking Brake Adjustment 20
- Steering Adjustment 21
- Engine Oil 22
- Checking the Oil Level 22
- Adding Oil 22
- Changing the Engine Oil 23
- Air Filter 24
- Cleaning the Engine 25
- Lubrication 25
- Seperation 26
- Damaged Blade Edge 26
- PTO Cable 27
- Hairpin Clip 27
- Support Pin 28
- Belt Cover 29
- Idler Pulleys 29
- Clean Hood/Dash Louvers 31
- SECTION 13: TROUBLESHOOTING 32
- SECTION 14: SPECIFICATIONS* 33
- The Toro Company 36
Summary of Contents
Page 1 - Operator’s Manual
Form No. 3354-969LX420 & LX460 Lawn TractorsModel No. 13AX60RG744Model No. 13AX60RH744Register your product at www.Toro.comOriginal Instructions (
Page 2 - CUSTOMER SUPPORT
10SECTION 5: TRACTOR SET-UPGas and Oil Fill-upUse only clean, fresh (under 30 days old), unleaded gasoline. Fill tank to no more than 1/2 inch below
Page 3
11Tire PressureWARNING: Maximum tire pressure underany circumstances is 30 psi. Equal tirepressure should be maintained at all times.The tires on your
Page 4 - DO NOT:
12Setting the Gauge WheelsTools Required(2) 9/16" wrenchesSelect the height position of the cutting deck by placing the deck lift lever in any of
Page 5 - CHILDREN
13SECTION 6: KNOW YOUR LAWN TRACTORFigure 6NOTE: Any reference in this manual to the RIGHT or LEFT side of the tractor is observed from operator’s po
Page 6
14Throttle / Choke ControlThe throttle/choke control is located on the right side of the tractor’s dash panel. This lever controls the speed of the en
Page 7 - SECTION 2: SAFETY LABELS
15Systems Indicator Monitor / Hour MeterLCDLocated in the center of the tractor’s console, the systems indicator monitor records, and displays on its
Page 8
16SECTION 7: OPERATING YOUR LAWN TRACTORSafety Interlock SystemThis tractor is equipped with a safety interlock system for the protection of the ope
Page 9 - ORAFENCEPOST
17Starting the EngineWARNING: Do not operate the tractor if theinterlock system is malfunctioning. Thissystem was designed for your safety andprotecti
Page 10 - SECTION 5: TRACTOR SET-UP
18Setting The Cruise ControlNOTE: The cruise control feature should only beutilized while traveling in the forward direction.• Slowly depress the dri
Page 11 - Shipping Brace Removal
19SECTION 8: MAKING ADJUSTMENTSWARNING: Never attempt to make anyadjustments while the engine is running,Seat AdjustmentTo adjust the position of th
Page 12 - Setting the Gauge Wheels
2TABLE OF CONTENTSFINDING MODEL NUMBERThis Operator’s Manual is an important part of your new lawn tractor. It will help you assemble, prepare and mai
Page 13
20Side to SideIf the cutting deck appears to be mowing unevenly, a side to side adjustment can be performed. Adjust if necessary as follows:• With the
Page 14 - NOTE: The brake pedal must
21Steering AdjustmentIf the tractor turns tighter in one direction than the other, or if the ball joints are being replaced due to damage or wear, the
Page 15 - PTO / BLADE ENGAGE
22SECTION 9: MAINTAINING YOUR LAWN TRACTORNOTE: Refer to Maintenance Chart on page 31 for areference of recommended maintenance intervals.WARNING:
Page 16 - Safety Interlock System
23IMPORTANT: The engine may overheat and/or damage may result if the oil level is below the ADD or over the FULL on the dipstick.• Reinstall the oil f
Page 17 - Driving On Slopes
24IMPORTANT: The oil fill cap/dipstick must be installed securely onto the tube at all times when the engine is operating. Severe engine damage could
Page 18 - Engaging the Blades
25• Check the gap using a feeler gauge and adjust, if necessary, by carefully bending the ground electrode. See Figure 16. Set the spark plug gap to .
Page 19 - Leveling the Deck
26SECTION 10: SERVICETiresWARNING: Never exceed the maximuminflation pressure shown on the sidewall of thetire.The recommended operating tire pressu
Page 20 - Parking Brake Adjustment
27IMPORTANT:When replacing the blade, be sure to install the blade with the side of the blade marked ‘‘Bottom’’ (or with a part number stamped in it)
Page 21 - Steering Adjustment
28• Pull the deck support pin outward to release the deck from the deck lift arm. See Figure 21.Figure 21• Repeat the above steps on the tractor’s rig
Page 22 - Adding Oil
29LX420LX460Belt CoverIdler PulleysBelt CoverIdler Pulleys
Page 23 - Changing the Engine Oil
3SECTION 1: IMPORTANT SAFE OPERATION PRACTICESWARNING: This symbol points out important safety instructions which, if not followed, could endangerthe
Page 24 - Air Filter
30SECTION 11: OFF-SEASON STORAGEClean and lubricate the tractor as instructed in Section 7: MAINTAINING YOUR LAWN TRACTOR on page 22 of this manual b
Page 25 - Lubrication
31SECTION 12: MAINTENANCE CHARTBeforeEach UseAfter Initial24 HoursEvery 10 HoursEvery 25 HoursEvery 50 HoursEverySeasonPrior to StoringClean Hood/Das
Page 26 - Damaged Blade Edge
32SECTION 13: TROUBLESHOOTINGTrouble Possible Cause(s) Corrective ActionEngine fails to start PTO (Blade Engage) lever engaged.Parking brake not enga
Page 27 - Hairpin Clip
33SECTION 14: SPECIFICATIONS** Toro reserves the right to change product specifications, design, and standard equipment without notice and without in
Page 28 - Support Pin
34NOTES
Page 29 - Idler Pulleys
35CALIFORNIA EMISSION CONTROL WARRANTY STATEMENTYOUR WARRANTY RIGHTS AND OBLIGATIONSThe California Air Resources Board and MTD Consumer Group Inc are
Page 30
The Toro CompanyMANUFACTURER’S LIMITED WARRANTY FOR LAWN & GARDEN TRACTORSCustomer Care Department of The Toro Warranty Company, 8111 Lyndale Ave.
Page 31 - Clean Hood/Dash Louvers
419. Slow down before turning. Operate the machine smoothly. Avoid erratic operation and excessive speed.20. Disengage blade(s), set parking brake, st
Page 32 - SECTION 13: TROUBLESHOOTING
5 CHILDREN1. Tragic accidents can occur if the operator is not alert to the presence of children. Children are often attracted to the machine and the
Page 33 - SECTION 14: SPECIFICATIONS*
6GENERAL SERVICE:1. Never run an engine indoors or in a poorly ventilated area. Engine exhaust contains carbon monoxide, an odorless, and deadly gas.2
Page 34
7SECTION 2: SAFETY LABELSSafety labels found on your lawn tractor are illustrated below (3/4 actual size). Always follow their instructions and heed
Page 35
8SECTION 3: INSTRUCTIONAL LABELSInstructional labels found on your lawn tractor are illustrated below (3/4 actual size). Always follow their instruct
Page 36 - The Toro Company
9SECTION 4: SLOPE GAUGE3IGHTANDHOLDTHISLEVELWITHAVERTICALTREEORACORNEROFABUILDINGORAFENCEPOST&OLDALONGDOTTEDLINEREPRES
Related products and manuals for Gardening equipment Toro LX420
 (64 pages)
Gardening equipment Toro 71430 User Manual
 (32 pages)
(32 pages)
© 2020, manymanuals.com. All rights reserved. | 1.434 s |
 Manymanuals.com
 Manymanuals.de
 Manymanuals.fr
 Manymanuals.it
 Manymanuals.pl
 Manymanuals.cz
 Manymanuals.es
 Manymanuals-pt.com
Comments to this Manuals